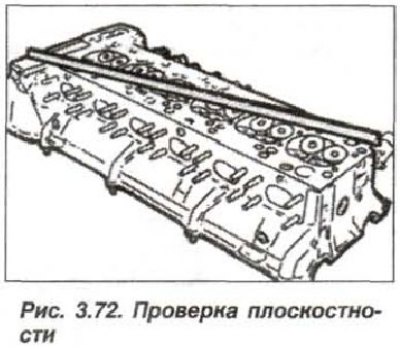
Remove and disassemble the cylinder head. Check flatness (warpage) sealing surface of the block head using a conventional straightedge (metal bar) and flat probe (see fig. 3.72).

The maximum allowable flatness of the block head is no more than 0.05 mm.
Non-flatness is eliminated by grinding the mating surface of the head at the workshop, for this it is necessary to check the height of the cylinder head. The nominal height of the cylinder head must be 140.0 mm, the minimum allowable height after grinding is not less than 139.7 mm.
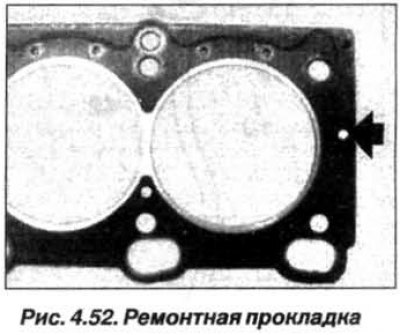
Under the cylinder head that has been ground, it is necessary to install a repair cylinder head gasket, which is 0.3 mm thicker than the standard one. The cylinder head repair gasket has a marking hole at the rear (arrow, fig. 4.52) in the area of the 4th (or 8th) cylinder.

