2. Remove the trim of the front pillars (see Section Removal and installation of panels of finishing of racks of a body and a ceiling).
3. Remove the instrument cluster (see chapter Onboard electrical equipment).
4. Remove the front passenger airbag.
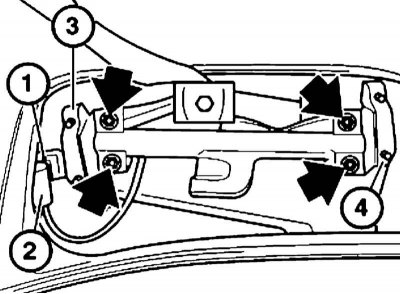
5. Release the latch (1) and disconnect the connector (2). Turn out bolts and remove holders (3 and 4) front passenger airbags.
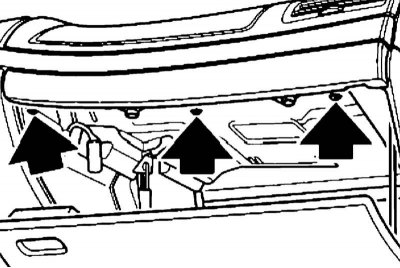
6. Remove the screws.
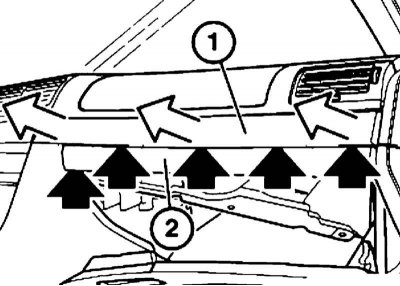
7. Unscrew the upper plastic nuts and remove the wooden plank (1). Additionally, give the plastic nut on the left side of the bar (2).
Install the outer plastic nuts with knurling to the bar, and the central nuts with a hexagon to the bar.
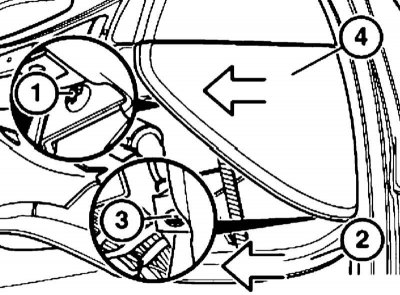
8. Remove the screws (1 and 3) and remove the glove box cover (2) and corner trim (4) moving towards yourself.
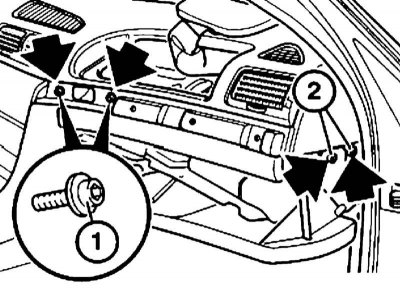
9. Turn out bolts (1 and 2).
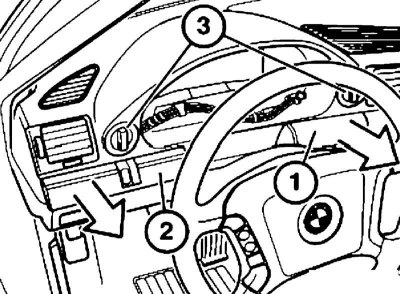
10. Squeeze out the latches and remove the wooden plank (1), disconnecting the tempostat connector if necessary. Squeeze out the latches, remove the wooden plank (2) and disconnect the connector. Remove the electrical connectors for the light switches (3).
When installing, replace damaged clips and plugs.
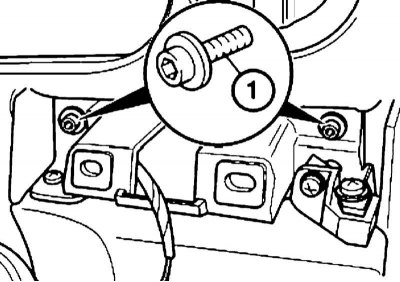
11. Turn out bolts (1).
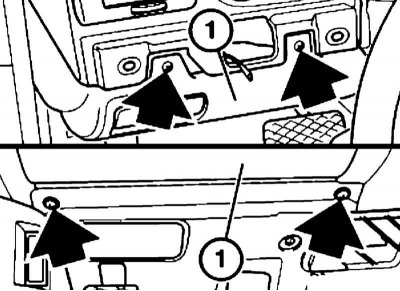
12. Turn out the top (without spacer) and lower (with washer) bolts, remove the left glove box (1) and unhook the parking brake release cable.
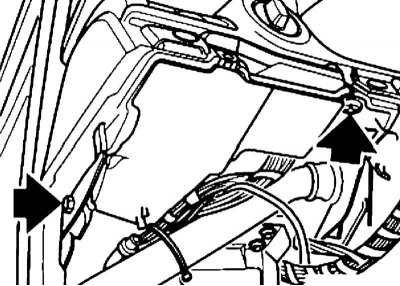
13. Turn out bolts under a steering column.
14. Remove HVAC center vents (see chapter Heating, ventilation and air conditioning systems).
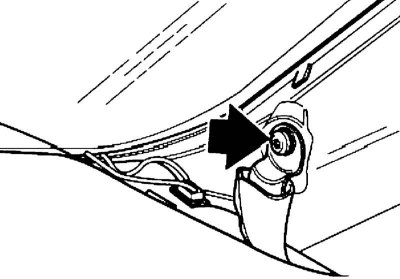
15. Turn out bolts from the left and on the right side and remove the panel of devices by movement on itself and up, shifting it towards the right forward door.
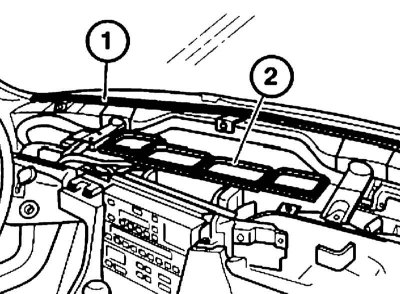
16. Remove gaskets (1 and 2) front of the instrument panel and heater.
17. Installation is carried out in the reverse order. Pay attention to the following points.
18. Immediately before assembling the instrument panel, apply new gaskets to the front of the instrument panel and heater.
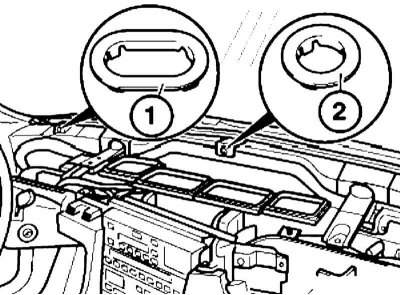
19. Install plastic guides (1) on the left and right side and (2) in the center.
