The crankshaft can only be removed after the engine has been removed from the vehicle. It is assumed that the flywheel or drive plate, vibration damper, timing chain or belt, sump, oil pump, and piston/rod assemblies have already been removed. Before removing the crankshaft, it is necessary to unscrew the bolts and remove the rear oil seal housing.

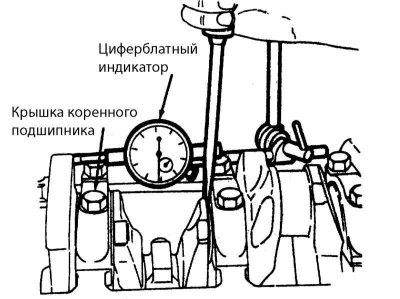
1. Before removing the crankshaft, check the end play. Install the dial indicator so that its stem is parallel to the crankshaft and touches its end or one of the crank caps.
2. Move the crankshaft back as far as it will go and reset the indicator. Then move the crankshaft all the way forward and read the indicator. Axial play is the distance that the crankshaft has moved. If it exceeds the maximum end play given in Table of sizes and adjustment data at the end of the manual, then check the wear of the thrust surfaces of the crankshaft. If no wear is detected, then new main bearings will correct the situation.
3. If a dial indicator is not available, feelers can be used. Find a main bearing with flanges on one side called "stubborn" main bearing (see Section Installing the crankshaft and checking the lubrication gaps of the main bearings, item 2). Carefully lift or slide the crankshaft forward until it stops. To determine the clearance, insert a feeler gauge between the crankshaft and the front surface of the thrust main bearing.
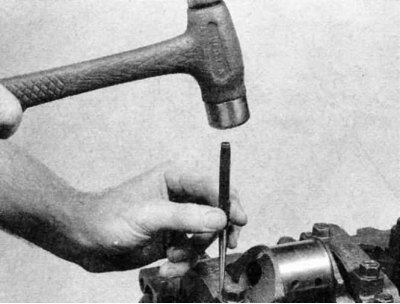
4. Check up presence of markings of an arrangement on covers of radical bearings. They must be consecutively numbered from the front of the engine to the rear. If not, then mark them with numbers using coinage or a center punch. Main bearing caps usually have molded arrows pointing towards the front of the engine. Moving from the edge of the engine to the center, loosen the bolts securing the main bearing caps in increments of a quarter of a turn so that they can be unscrewed by hand. If studs are used, then when installing the crankshaft, ensure that they are subsequently installed in their original places.

5. Lightly hit the cover with a mallet with an elastic head, then separate them from the cylinder block. If necessary, use the bolts as levers to separate the covers. Take care not to drop the bearing shells if they are removed with the covers.

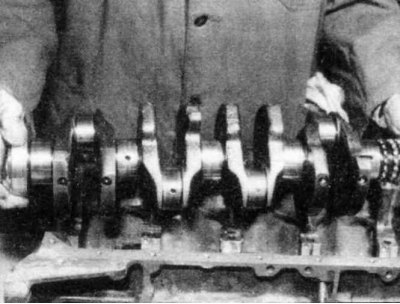
6. Carefully remove the crankshaft from the engine by lifting it up. It may be advisable to invite an assistant, since the crankshaft is quite heavy. With the bearing shells in place on the cylinder block and main bearing caps, return the caps to their respective positions on the block and tighten the bolts by hand.
