Removal - front door
1. Disconnect the wire from the negative battery terminal (see chapter 5A (.
Models "sedan" And "tourist"
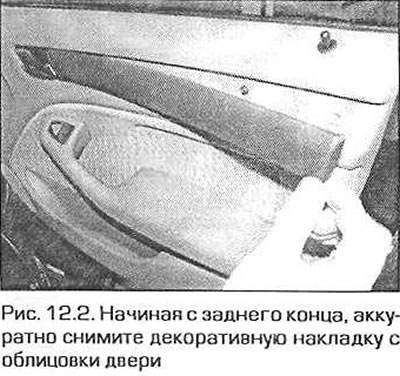
2. Starting at the rear end, using a special tool or a flathead screwdriver, carefully pry the trim from the door trim (pic. 12.2).
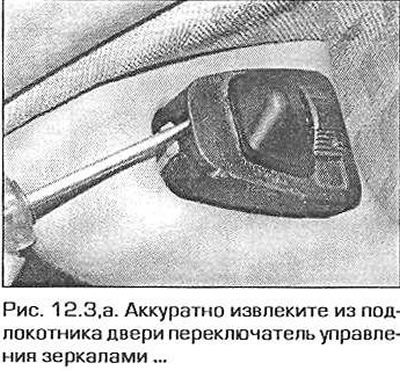
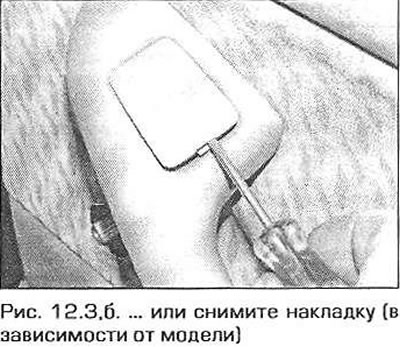
3. On models with electric mirrors, when removing the driver's door trim, first carefully remove the mirror control switch from the armrest (starting from the front end). After removing the switch, disconnect the wiring connector from it. When removing the passenger door trim (or driver on models without electric mirrors) remove the plastic trim from the front of the armrest (pic. 12.3, a, b).
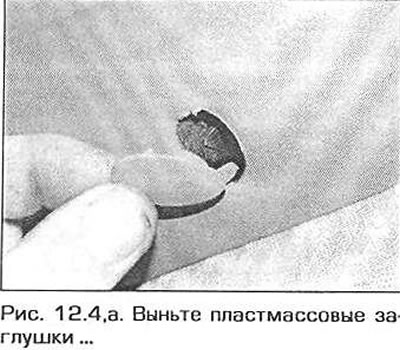
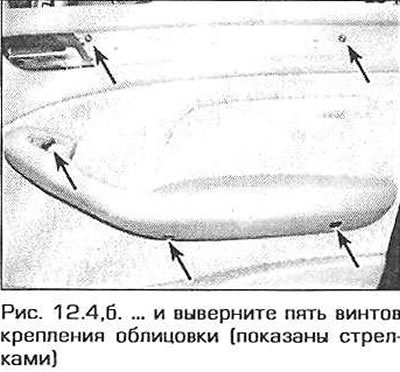
4. Remove the plastic plugs from the armrest, then remove the five screws securing the panel (pic. 12.4, a, b). Note that the top front mounting screw is longer than the others.
Model "coupe"
5. On models with electric mirrors, when removing the driver's door trim, first carefully remove the mirror control switch from the armrest (starting from the front end) (see fig. 12.3, a). After removing the switch, disconnect the wiring connector from it.
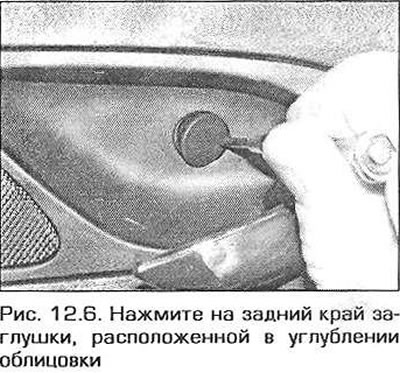
6. In the recess of the lining under the door opening handle, press on the rear edge of the plug and remove it, then unscrew the fastening screw with a slotted key (pic. 12.6).
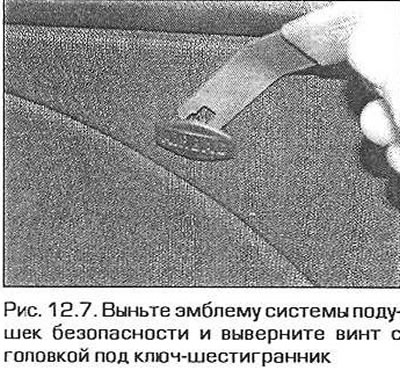
7. Carefully remove the pad with the emblem of the airbag system and unscrew the screw located under it (pic. 12.7).
8. Turn out three screws of fastening of an armrest.
All models
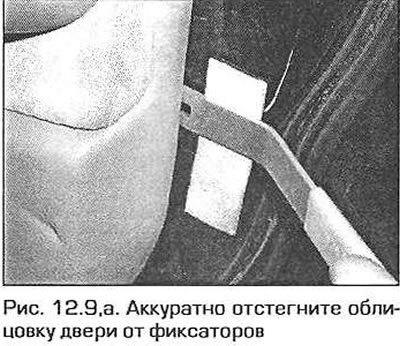
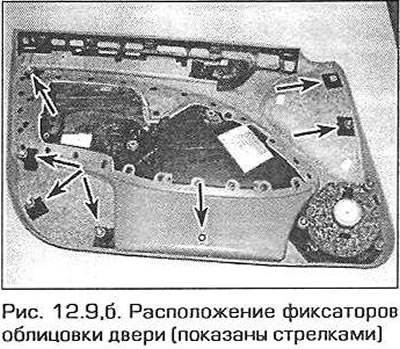
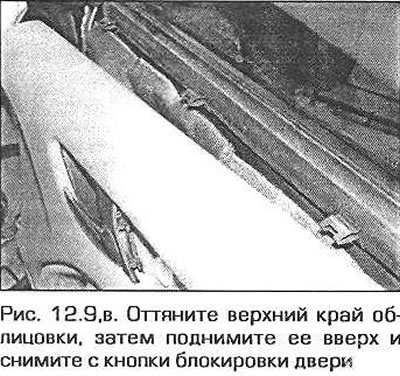
9. Using a flat screwdriver, carefully unfasten the fasteners that secure the lining to the door. After all latches around the perimeter of the door are disconnected, pull the top edge of the trim away from the door and lift it up to remove it from the door lock button (pic. 12.9, a-c).
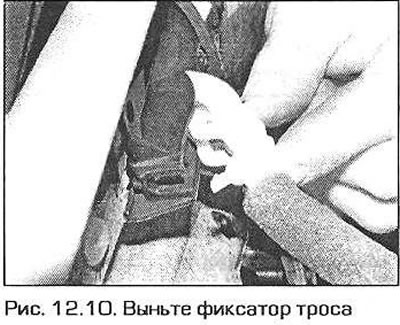
10. Pulling the lining away from the door, pull the door opening handle, remove the cable retainer and disconnect the cable (pic. 12.10).
11. After removing the lining, disconnect the wire connectors from the speaker.
12. Remove the airbag unit from the door (if it exists) (see chapter 12).
13. If necessary, remove the sound insulation panel from the door.
Removal - rear door
14. Disconnect the wire from the negative battery terminal (see chapter 5A), then open the back door.
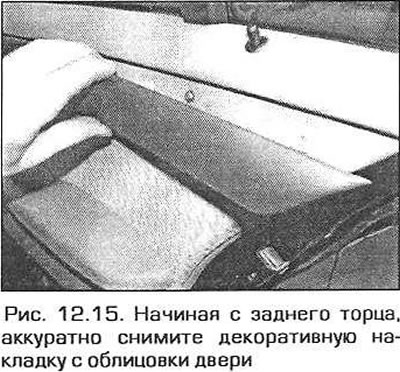
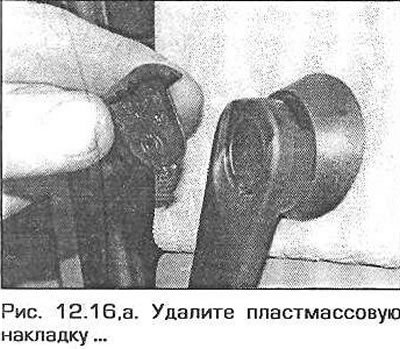
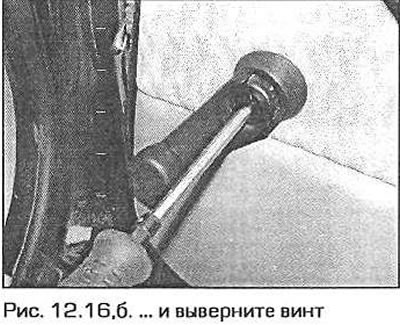
15. Starting from the rear end, using a special tool or a flat screwdriver, carefully remove the decorative trim from the door lining (pic. 12.15). On models with manual power windows, carefully remove the plug from the power window handle. Loosen the screw and remove the handle together with the round cap (pic. 12.16, a, b). Remove the plastic trim from the front of the armrest (see fig. 12.3, b).
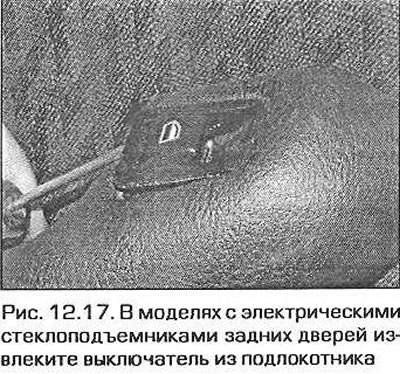
17. On models with power windows, use a small flathead screwdriver to carefully remove the power window switch from the armrest. Put a piece of cardboard under the screwdriver so as not to scratch the armrest (pic. 12.17).
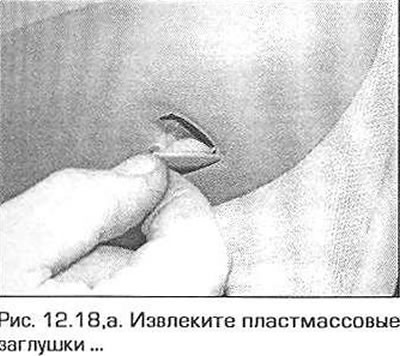
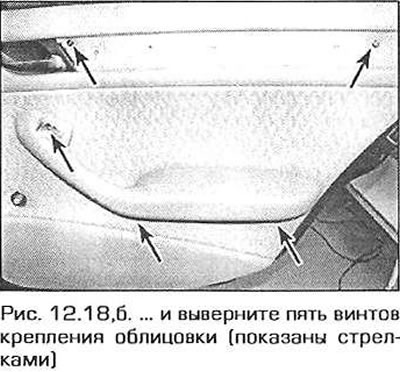
18. Remove the plastic plugs, then remove the five screws securing the cladding panel (pic. 12.18, a, b). Please note that the front upper mounting screw is longer than the others.
Installation
20. Installation is carried out in the reverse order of removal. Before installation, check the condition of all cladding fasteners and replace any damaged ones. Make sure the soundproofing is in its original location (if she filmed). If the soundproofing was damaged during removal, replace it.
