Withdrawal
Remove gearbox.
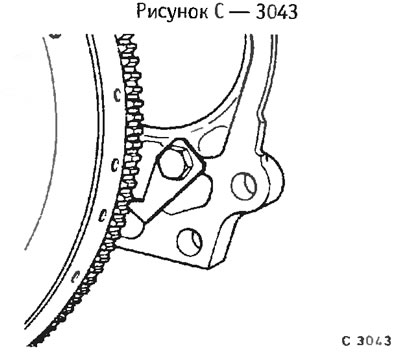
To prevent the flywheel from turning when loosening the bolts, block the flywheel with a BMW special tool or with a screwdriver or a rod.
Gradually loosen the drive disc mounting bolts by 1-1½ turns each time until it is unloaded.
Caution: If the bolts loosen immediately, the diaphragm spring may be defective.
Finally, completely unscrew the bolts.
Remove the drive and driven discs.
Attention: Do not drop the drive and driven discs when pulling out, as this may result in difficult disengagement of the clutch or jerking of the clutch after it is installed.
Wipe the flywheel with a cloth soaked in gasoline.
Examination
Check the drive disc for scratches and burnt spots.
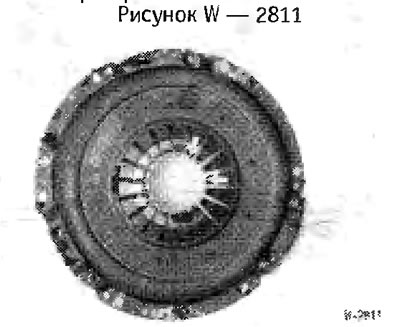
Check the integrity of the diaphragm spring -arrow-.
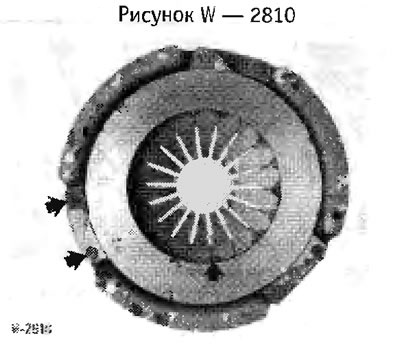
Check the spring connections of the driving disk and the cover for cracks and the reliability of the fastening of the rivet connections. Replace clutch with damaged or unreliable rivet connections.
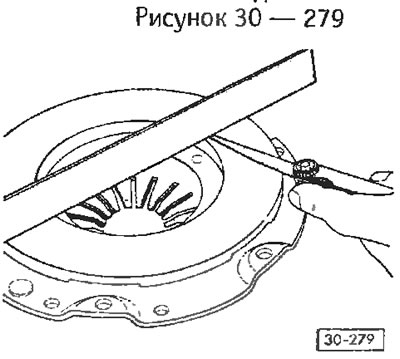
Check the working surface of the drive disc for cracks, burnt spots and wear. Drive discs that are inwardly concave up to 0.3 mm can still be fitted. Checking is carried out using a ruler and a set of probes.
Check the flywheel for scratches and burnt spots.
Treat the drive disc and flywheel with very fine sandpaper.
Oily and mechanically damaged drive discs must be replaced.
Measure the thickness of the drive disc linings with a caliper. The minimum allowable thickness is 7.5 mm, otherwise the disc must be replaced. The drive disk is also replaced in the presence of burnouts.
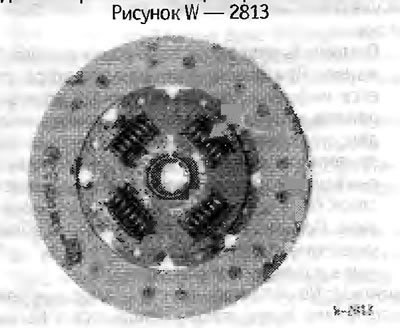
Check spring windows, torsion springs and hub for signs of wear. With a compound flywheel, the driven disk has a rigid structure without dampers. Torsion dampers in this case are installed in the flywheel.
Remove the release bearing from the transmission front cover and check.
The workshop checks the runout of the driven disk. Lateral runout should not exceed 0.5 mm.
Attention: This check must be carried out when reinstalling the previous driven disk and before that there were difficulties when depressing the clutch.
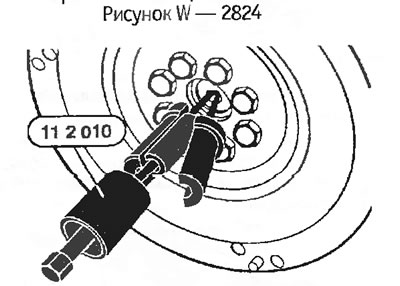
Check the ease of movement of the ball bearing in the groove of the crankshaft. If necessary, remove the bearing with a puller and replace.
Installation
Before installing a new clutch, remove the anti-corrosion protective coating from it.
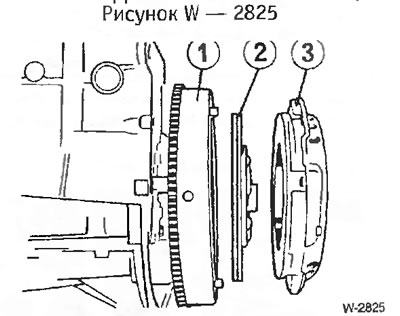
Insert the drive -3- and driven -2- discs into the flywheel. Place the clutch drive plate on the appropriate dowel pins.
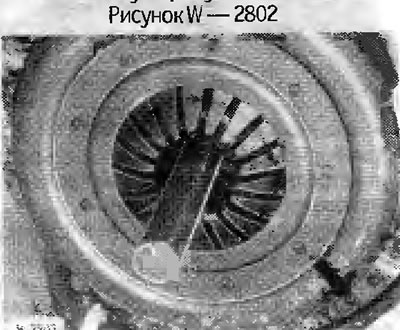
Center the driven disc in the drive disc. For alignment, it is best to use a HAZET shaft or an input shaft from an old gearbox.
Tighten the drive disc mounting bolts one to one and a half turns in sequence. Then remove the centering shaft.
Attention: When tightening the bolts, the drive plate must be evenly and freely inserted into the flywheel. The tightening torque of the fastening bolts is 25 Nm.
Lightly lubricate the input shaft keyways of the gearbox with Microlube 261.
Install gearbox.
